4-step guide on how to start processing with Payop
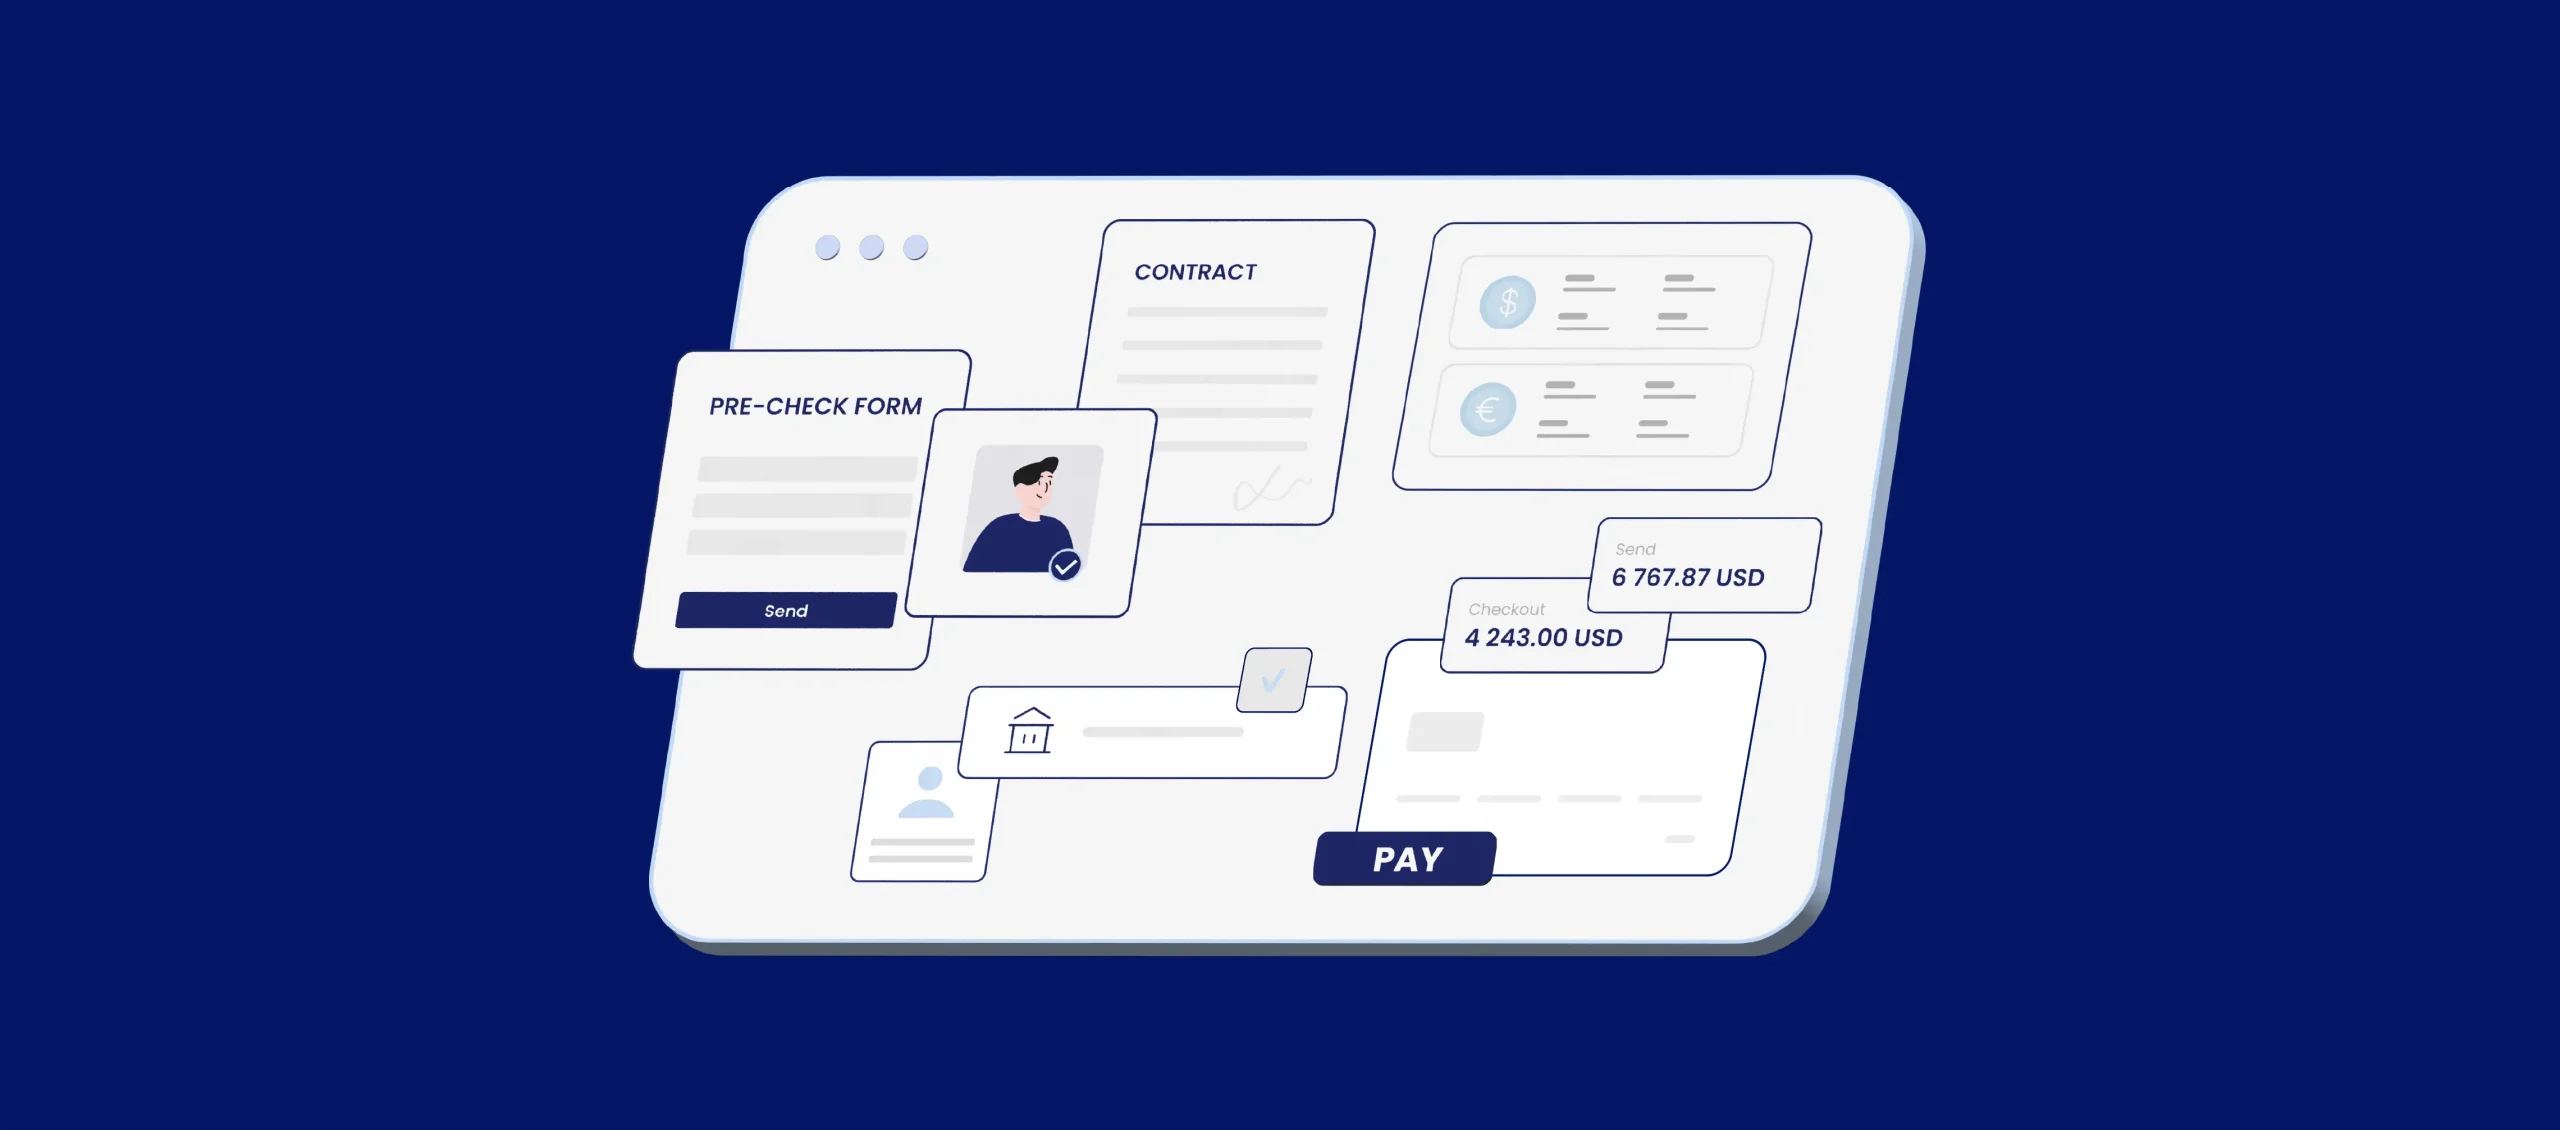
Are you ready to optimise your checkout process and enhance your customers’ experience? Smooth transactions can make all the difference in retaining customers and boosting sales. In this guide, we’ll walk you through five straightforward steps to integrate Payop, ensuring an efficient payment experience for your clients.
Step 1: Create a Payop account
The first step is to create an account on our website. You enter your email, website address and set up a password. And don’t forget to read and agree with our Terms and Conditions before clicking the “Create an account” button.
After that, you must confirm your email in the letter we will send to your provided address.
Step 2: Pass pre-check verification
Once your account is set up, it’s time for the pre-check verification. You will be redirected to the pre-check page after confirming your email. Here, you should provide general information about your company and its representatives and submit your project(s) or, in other words, website(s). You can add any number of projects both at the verification stage and afterwards if you have several businesses.
Before you send the form for our approval, you will be given the possibility to check and, if necessary, correct the entered data. Providing accurate and valid information at this stage speeds up the verification process, allowing you to move swiftly to the next stage.
We strive to work with trustworthy and legal online businesses and be a reliable partner for you. That’s why we carefully review the information you provide in the pre-check application. Usually, this takes around two business days.
Step 3: Submit the necessary documents
As soon as your pre-check is accepted, your account manager will contact you with the details needed to complete the full verification. At this stage, you must present paperwork that will allow us to check your compliance with regulatory standards and verify your business’s legitimacy.
Below is a list of documents you may need for verification:
For company:
- Certificate of Incorporation;
- Beneficiary’s passport and proof of residence address;
- Register of Directors;
- Passport and proof of residence for each Director;
- Register of Shareholders;
- Passport and proof of residence for each Shareholder;
- Certificate of Good Standing / Certificate of Incumbency/Extract from register/issued within three months (in case legal entity was registered more than two years ago);
- Memorandum & Articles of Association/Constitution/Statute/other statutory documents;
- If the project is Betting, Gambling, Crypto, Forex:
Activity License;
Agreement with a License holder.
For individual entrepreneurs:
- An official document from the state registration that shows you as a sole proprietor;
- Passport (driver’s license/international passport/ID card);
- Proof of residence address.
At this stage, you also get access to the merchant dashboard. So while we check your details, you can familiarise yourself with our system.
Step 4: Integrate Payop through API or plugin
Documents are approved, now comes the integration phase. Here, you have three options:
- to integrate our checkout page with all payment methods available for your type of business through the API
- to integrate separate payment methods that are particularly relevant to your audience, through API
- to use one of our plugins for WooCommerce, X-cart, Open cart or PrestaShop.
Note: Our API allows you to connect all payment methods in one integration. No need to sign separate contracts and lose time with extra paperwork – simple and quick.
Depending on your choice, your dedicated account manager will provide you with the necessary instructions on the integration process. And that’s it. Once you connect your website(s) and the Payop platform, you can start processing your first transactions.

